How To Use Actions in Photoshop
If you ever need to save a series of filters, resize a set of images or save a group in a different format, then actions are what you're looking for. Using them is a real time saver and combined with batch processing, can make you're life that little bit easier. In this tutorial, I'm going to be using actions to add a white border to a series of images...
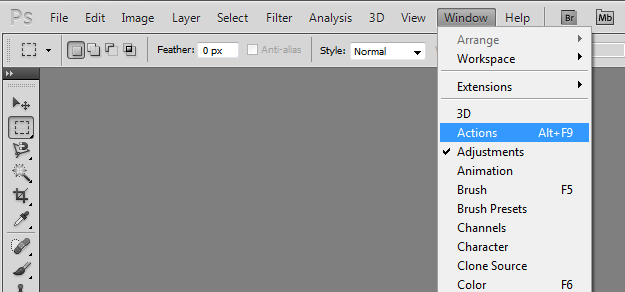
Step 1 - Open the Actions Panel
Start by opening the Actions panel by going to Actions -> Actions or hit Alt+F9
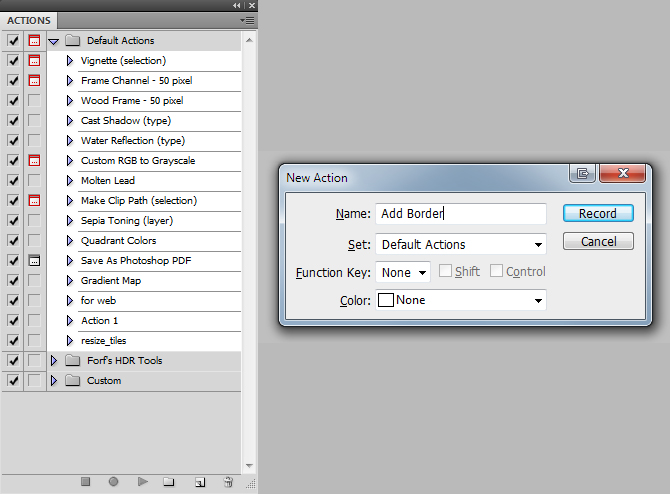
Step 2 - Create a New Action
Click the Create a new action button in at the bottom of the window and name the action what you wish.
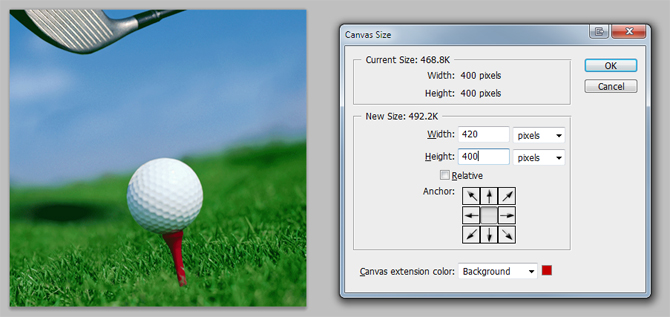
Step 3 - Record The Action
When you have created named the action and hit OK, Photoshop will start recording what you're doing. If you need to stop the record then click the square button, and to start the recording, hit the circle button. Once recording has begun, get started on what you wish to record. In my case, I am going to be keeping it simple by expanding the canvas 10px each way.

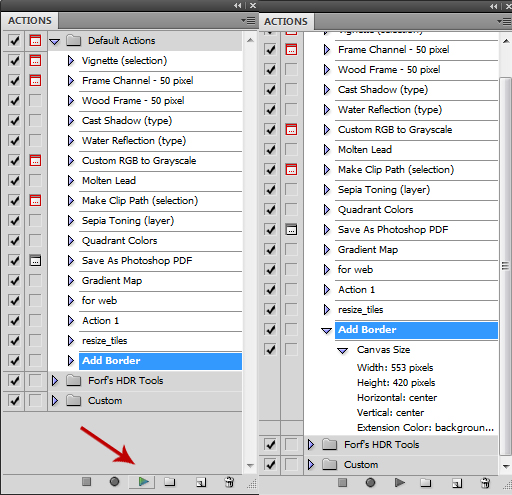
Step 4 - Stop Recording
When you have finished what you're doing, press the square icon and stop the recording. Then, open up any other images you wish to apply the same effect too and run the action on that image. To apply the same action, click the play button at the bottom of the window. To view details on each step of the action, click the arrow on the left of the action.
And that is that. Simple really but can save lots of time when it comes to repeating the same action. To save even more time, actions are best used with batch processing, an extremely powerful tool.