5 Methods of Converting to Black and White
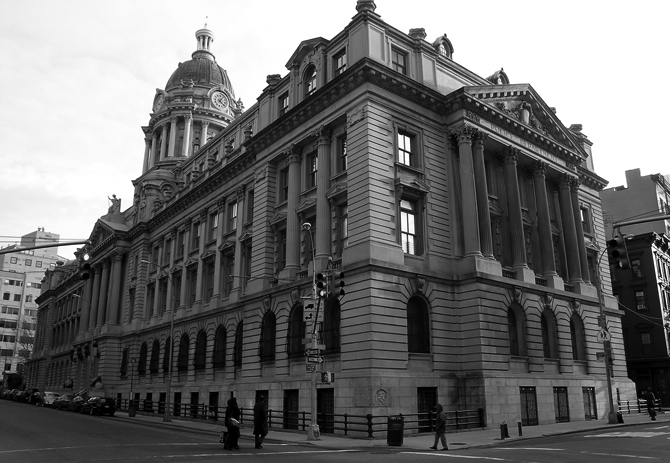
Converting images to black and white is a great way of making an ordinary photograph better. There are quite a few methods to converting an image to black and white, all with their benefits and draw backs. Here we look at these methods and compare the differences. I am going to be using a lovely photo of a building on the corner of Centre and Grand Street in New York City...
Method 1 - Converting to Grayscale
Converting the image to grayscale is the simplest of all the method. To do this, go to Image -> Mode -> Grayscale and boom, you have yourself a black and white image. All we are doing here is telling Photoshop (or your image editing software) to discard all colour in the image and replace them with shades of gray. Changing the mode of the image is a great technique as it can be performed in all image editing software. This is the outcome...
Method 2 - Desaturation
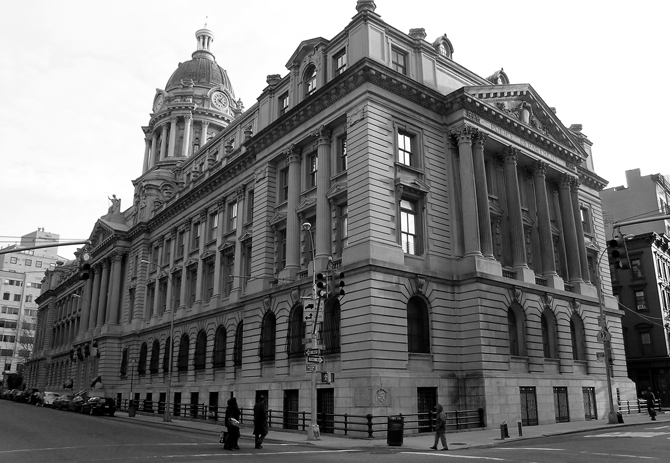
This method is similar to the previous one. To change the saturation of the image, go to Image -> Adjustments -> Hue/Saturation or Ctrl+U. Change the saturation to be -100 or move the slider to the far left. You will see the image lose it's colour. I find that this method can leave the image looking quite flat and lifeless. This is the outcome...
Method 3 - Gradient Map
Gradient maps are brilliant to use, not only when it comes to adding a different tone to an image, but for converting them to black and white (see how to use gradient maps). Simple apply the gradient map adjustment layer, making sure you have a black to white gradient. The difference between this and the other two methods is quite clear. Using a gradient map maintains the contrast of the image, keeping the blacks black and keeping life in the image. This is the outcome...
Method 4 - Black and White Adjustment Layer
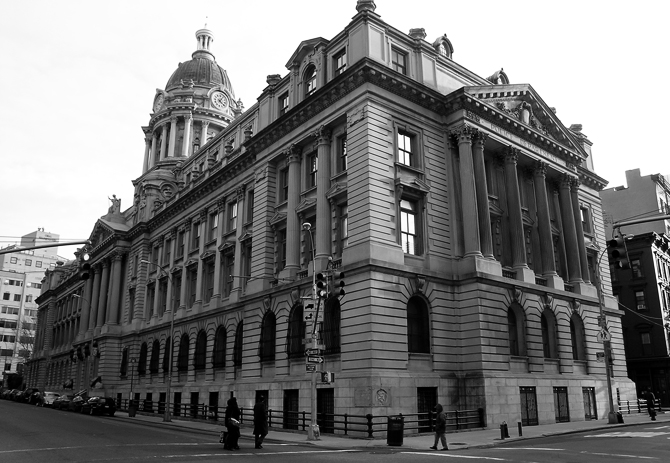
Another very simple method of converting an image to black and white is to use the black and white adjustment layer. This has a similar effect to the desturation method and can make the image become very flat, so it is not used often. This is the outcome...

Method 5 - Channel Mixer
The channel mixer is a more complicated method, but yields the best results. For a more in-depth look at how to use this method, check out my post on Converting to Black and White Using The Channel Mixer. This method really gives you freedom about how you want the image to look and feel. If you have time to play around with the settings then this is the best method to use. This is the outcome...

Conclusion
As is said at the beginning, each method has it's good and bad points. If your looking to quickly convert an image to black and white then your best bet is to use the Converting to Grayscale method. It can be done in a wide range of image editing software and takes less than a minute to complete. If you are looking for a slightly better result but still don't have the time to mess about with settings, I suggest you use the Gradient Map method (gradient maps are a really favourite of mine). But if your looking to perfect that black and white image, then my suggestion is to use the Channel Mixer method. It allows you to make the image what you want it to be and once you get to grips with it, you can use this method for all other things, not just converting to black and white.